Showing posts with label DIY craft. Show all posts

Wednesday, August 24, 2011

How to create a business name and logo (and how we created ours!)

Christa and I have been asked how we came up with our name 'SophiaFredricka' and what inspired the logo design so we thought we'd share it with all of you here!

Our Grandma Bahr had two beautiful middle names, Sophia and Fredaricka. She was a creative crafter and Christa and I have many fond memories making fun things with her. Naming our business after her is a great fit because of the family tie and special meaning, and SophiaFredricka has a beautiful and memorable ring to it (although, there is one downside, it can be challenging to remember exactly how to spell it - we changed the spelling to make it a tiny bit easier).

When we started talking about the logo design, we both knew we wanted the words 'SophiaFredricka' to be  prominent. We also knew we wanted something simple yet eye-catching which encompassed our concept of tradition and handmade. Together, we created the idea of an intricate frame around our name like a picture frame around a formal family portrait. We both drew a bunch of little frames in our sketch books. Christa looked over at what I drew, and pointing at one in particular said, "Thats it! It's perfect!" It was a decorative, swirly frame that had a charming hand drawn look. Then Christa wrote out 'SophiaFredricka' in her pretty hand writing.

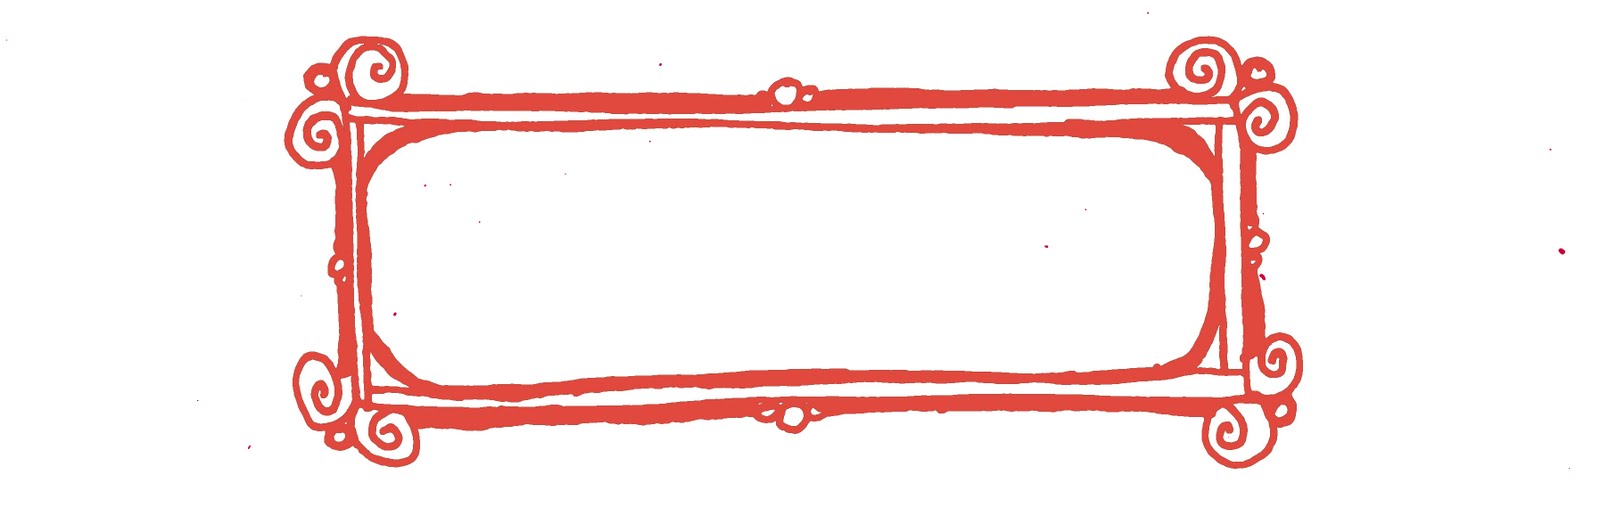

We scanned the hand drawn images and used Photoshop to give the frame a color and add background color. Christa resized the frame and the words to fit nicely together and prepared them for our Etsy shop and blog headers.  Voila - a great, customized name and logo! You can do it too, all you need is an idea, paper, pen, scanner or digital camera, and Photoshop. We'd love to know, do you have a creative business name or logo design up your sleeve? We'd love to hear your ideas!

posted by Christa and Sarah

Saturday, August 20, 2011

DIY Craft Ideas: stroller fun and a great hair piece display

I am excited to share a couple of today's projects with you (there is one more in progress - details coming soon!). They were so fun, fast, and easy, I made this a DIY post so you can make them too!

First up is my stroller project. We got a second-hand stroller that needed a new belt clasp and a few minor fabric repairs. Sarah installed a new (red!) strap with new clasps earlier this summer. We used the stroller all the time after she put in the new strap, but it really needed a water bottle holder and we also got the perfect thing to bring more red into the color scheme: red ball fringe to trim the canopy!

The canopy is removable so I took it off (and replaced the elastic that holds it in place - it was shot!). I pinned the ball fringe around the full perimeter (on the inside so the sea green trim still shows) and machine sewed it. And that was it!

To make the water bottle holder, I searched through my fabric stash for the perfect fabric and found a beautiful green table napkin. I trimmed off the fringe and ironed a 1/4" seam allowance on each of the short edges. I then pinned the short edges together and sewed two lines for extra strength along the short edges and across the bottom. I then pinned the napkin fabric to the side of the stroller fabric, right where I wanted the water bottle to hang. I disassembled that side of the stroller and machine sewed the napkin fabric to the stroller fabric. To help the opening of the water bottle holder keep a circular shape, I inserted a thin wire (used for jewelry making). I can't wait to try it out tomorrow! Has this inspired you to decorate or make something more functional? I'd love to hear!


My second project is for an upcoming art fair. I have been making these wonderful colorful floral hair pieces and need a fun, easy way to display them. My amazing Mom had a great suggestion and I tried it out today! I took a picture frame (no glass, mat, or backing) and tied 3 ribbons, equally spaced, around it. Then I clipped the hair pieces onto the ribbon - easy as that! I will get enough of the same ribbon to use in 3 different frames. I can't believe how easy this was and I think it could be a great way to display hair pieces at home (or lots of other things like photos, holiday cards, brooches, etc)! What do you think? Great? Too simple?